A while ago, my friend asked me to make a GIF animation for her. Thanks to her appreciation and trust.
I am going to share the process so that you may get some useful information if you are interested.
前陣子朋友委託我幫她製作部落格中需要使用到的小動畫,非常感謝她的賞識與信任。我把過程整理了一下,跟大家分享一下製作的過程,希望有興趣的朋友可以從中得到一些有用的資訊。
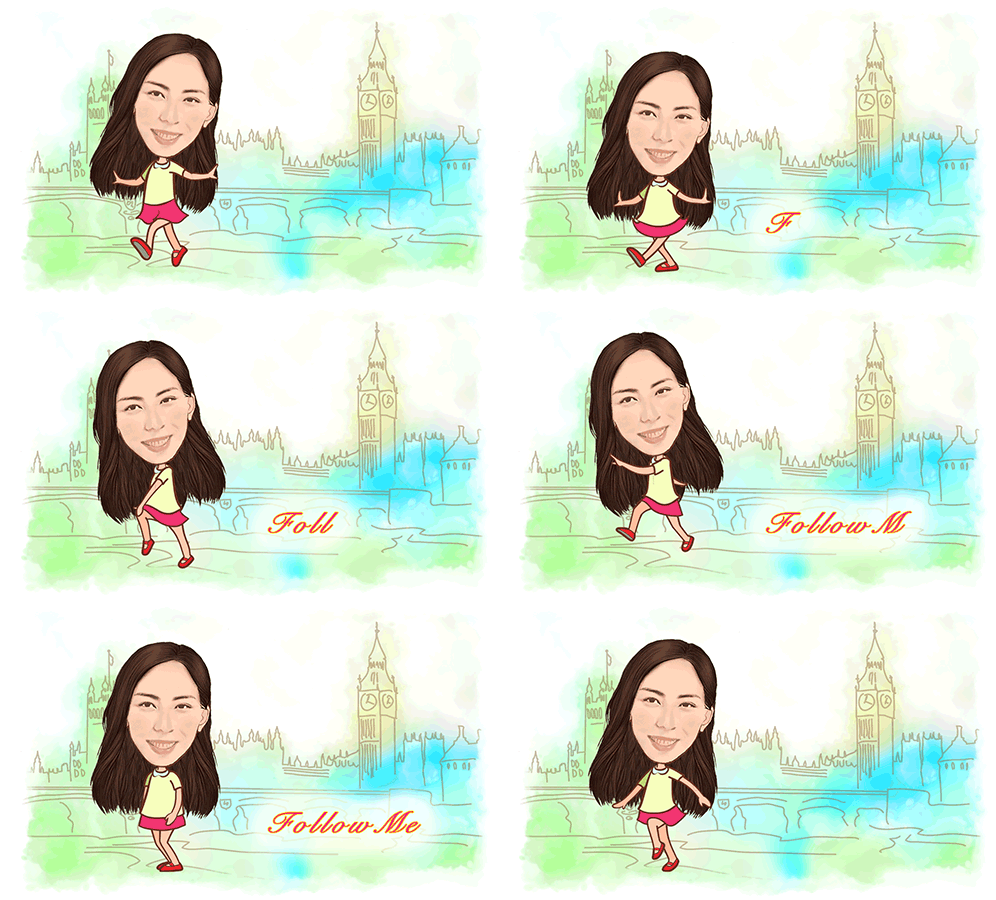
I ask her to give me her photo in order to create her head in the APP “MomentCam”.
According to my experience, the clearer the picture the better. Use the front head, and the better the light source comes from the front, and less visible shadows appear on the face.
當我接到這個委託時,首先想到的是可以利用我經常使用的一個APP「魔漫相機」來幫忙,大家如果有注意到我文章中使用到的小動畫的話,沒有瞎的話應該都看得到,其中大部份都是利用魔漫相機製作出來的。
所以我立刻跟她要了她的照片,用於在魔漫相機中製作漫畫的頭像。
想要使用魔漫相機,根據我的經驗,照片品質越清晰越好,使用正面的大頭照最好,光源能夠來自正面更好,不要在臉上出現明顯的陰影,這樣做出來的漫畫頭像最漂亮。而travelgirl給了我一張完全符合要求的照片,所以做出來的效果趨近完美,只要做一些小小的修改。

As you can see, although the cartoon effect is very good, the edge of the character has a rough white edge so it needs to be trimmed. I only need the head part, so I need to erase the body part and repair her hair part, which is also a very time-consuming part of it.
In addition, I also fix some details according to her requirements.
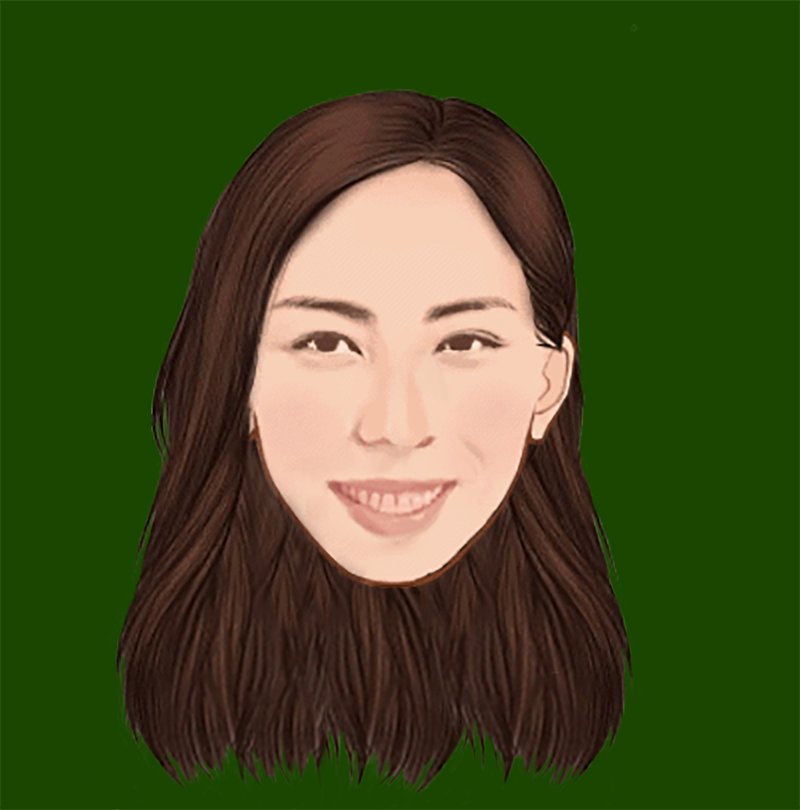
The following picture is the image after retouching. Don’t you think it looks much better?
下面這張是魔漫相機中產生的漫畫,臉的效果非常的不錯,一眼就可以看出是她本人。你一定想罵我是在說廢話嗎?用本人照片做的當然像!不不不!不是我在說,如果選了不適合的照片,做出來的漫畫頭像還真的不一定有好的效果。
大家可以看出來,雖然臉部效果很不錯,可是角色的邊緣有粗糙的白邊,如果用在白色的背景沒什麼問題,但是用在其他顏色看起來就會很難看,所以需要修一下。頭髮的尾端要畫出虛虛的尖端,是裡面最麻煩的部分,需要有點耐性慢慢修整。
另外,我需要的只是頭像的部分,身體的動畫是自己畫的,所以我需要把身體的部分修掉,並且補上頭髮的部分,這也是裡面很花時間的部分。
除此之外,臉部也根據travelgirl的要求做了一些細節的修改。
下面那張是修圖後的頭像,是不是感覺乾淨很多?


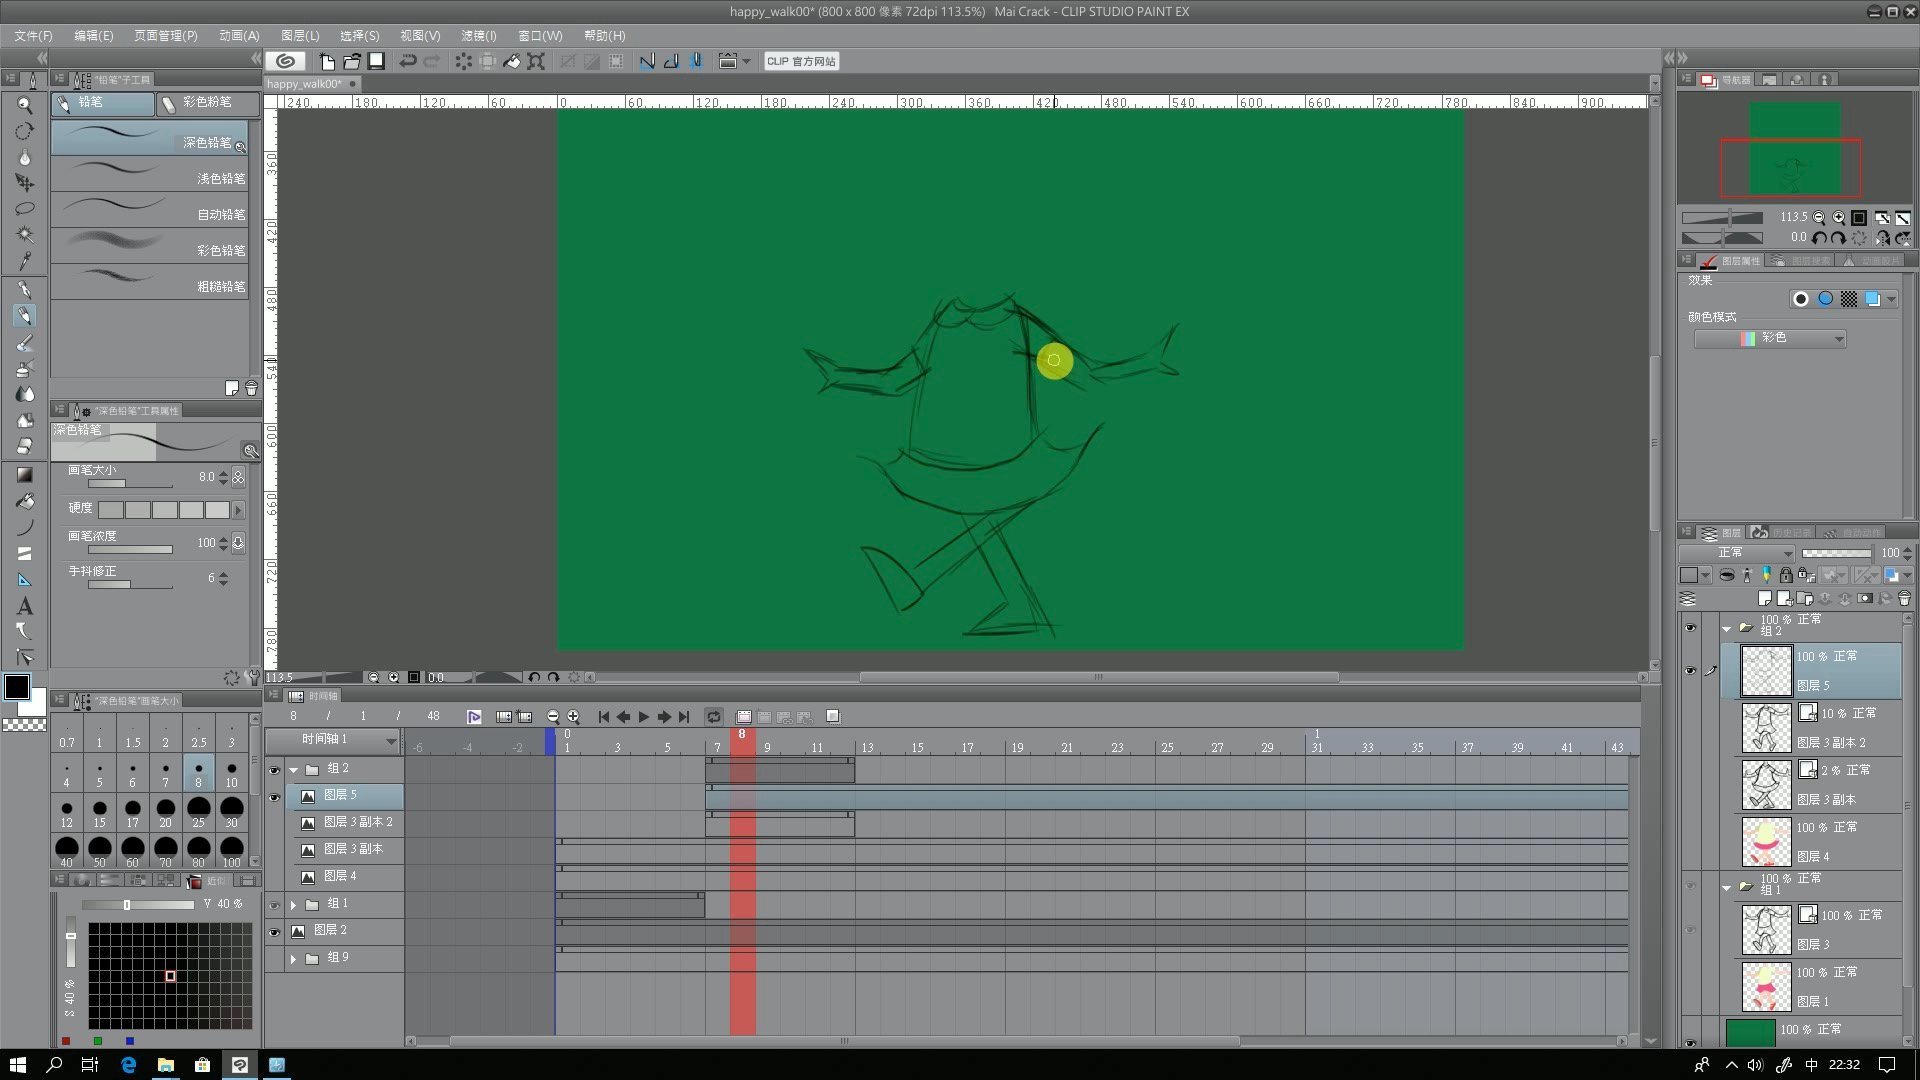
Draw an approximate position with a draft, and then draw the vector lines according to the draft.
頭像有了,接下來就要來畫身體的動畫了。我使用的軟體是Clip Studio Paint,這個繪圖軟體是專門設計來畫漫畫的,不論是畫線條或上色,工具都蠻強大的。
先用線稿畫出大約的位置,再拉出向量的線條。


I use all the colors on the side as a reference so color can be directly selected to ensure that the entire animation used color is consistent.
畫好的動畫,要一張一張上色。這裏沒有什麼技巧,就只需要一點耐性。
我把使用到的顏色全部塗在旁邊做為參考,這樣上色時,可以直接選取顏色,才能保證整段動畫所使用的顏色是連貫的。

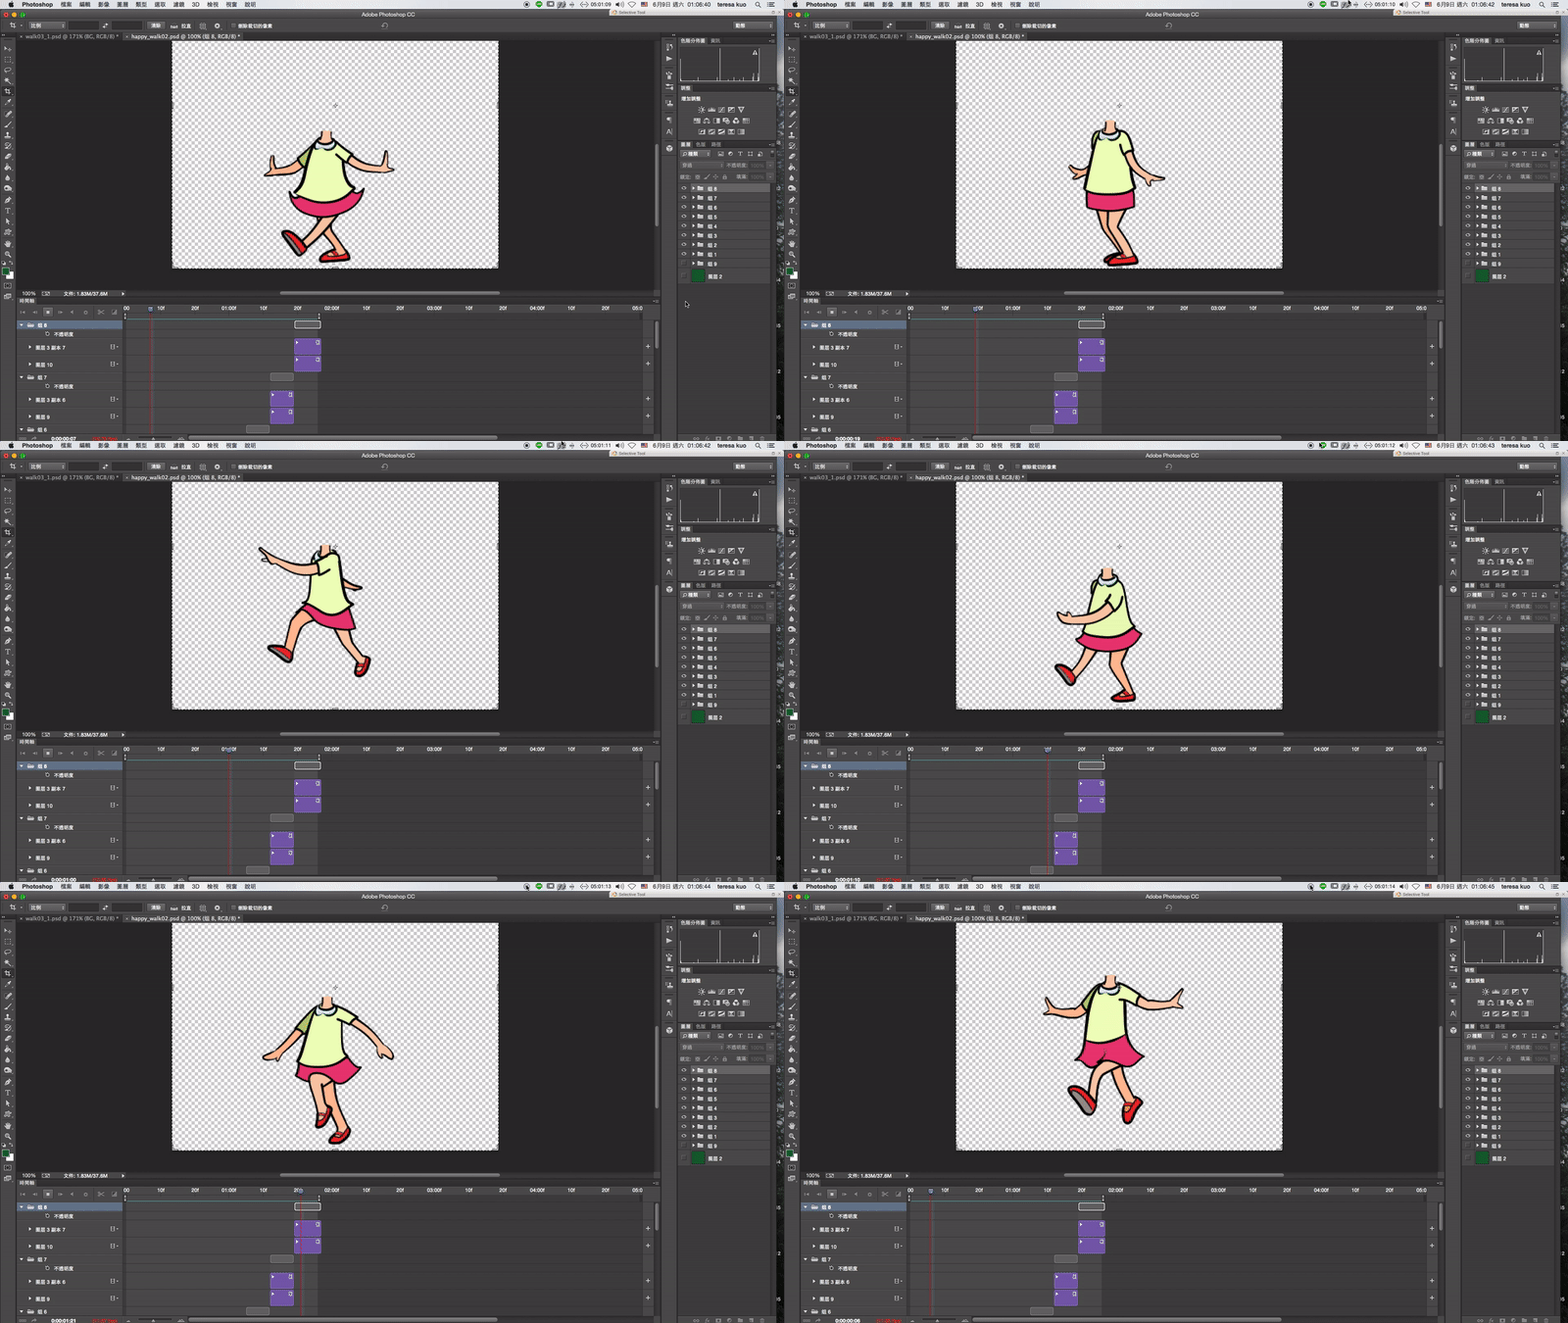

接下來,在photoshop裡面把頭和身體組合起來,調整頭的位置,做成最後的動作。


接著幫背景上色,我把背景的邊緣修成不規則狀,如果需要放在深色背景時會比較美觀。
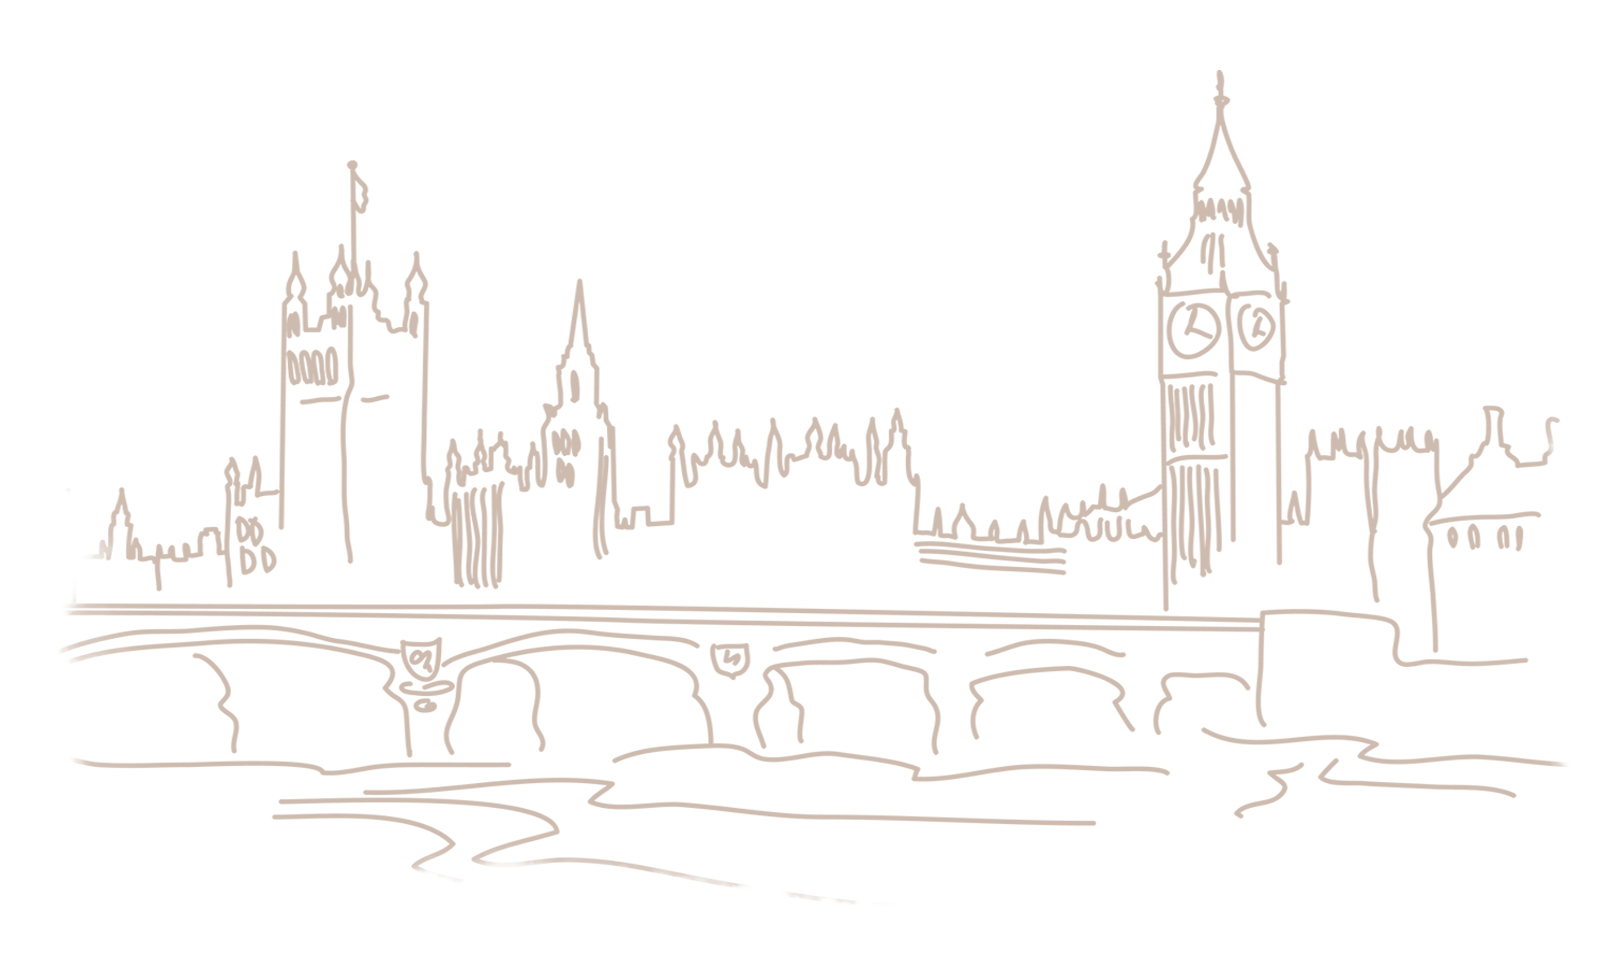
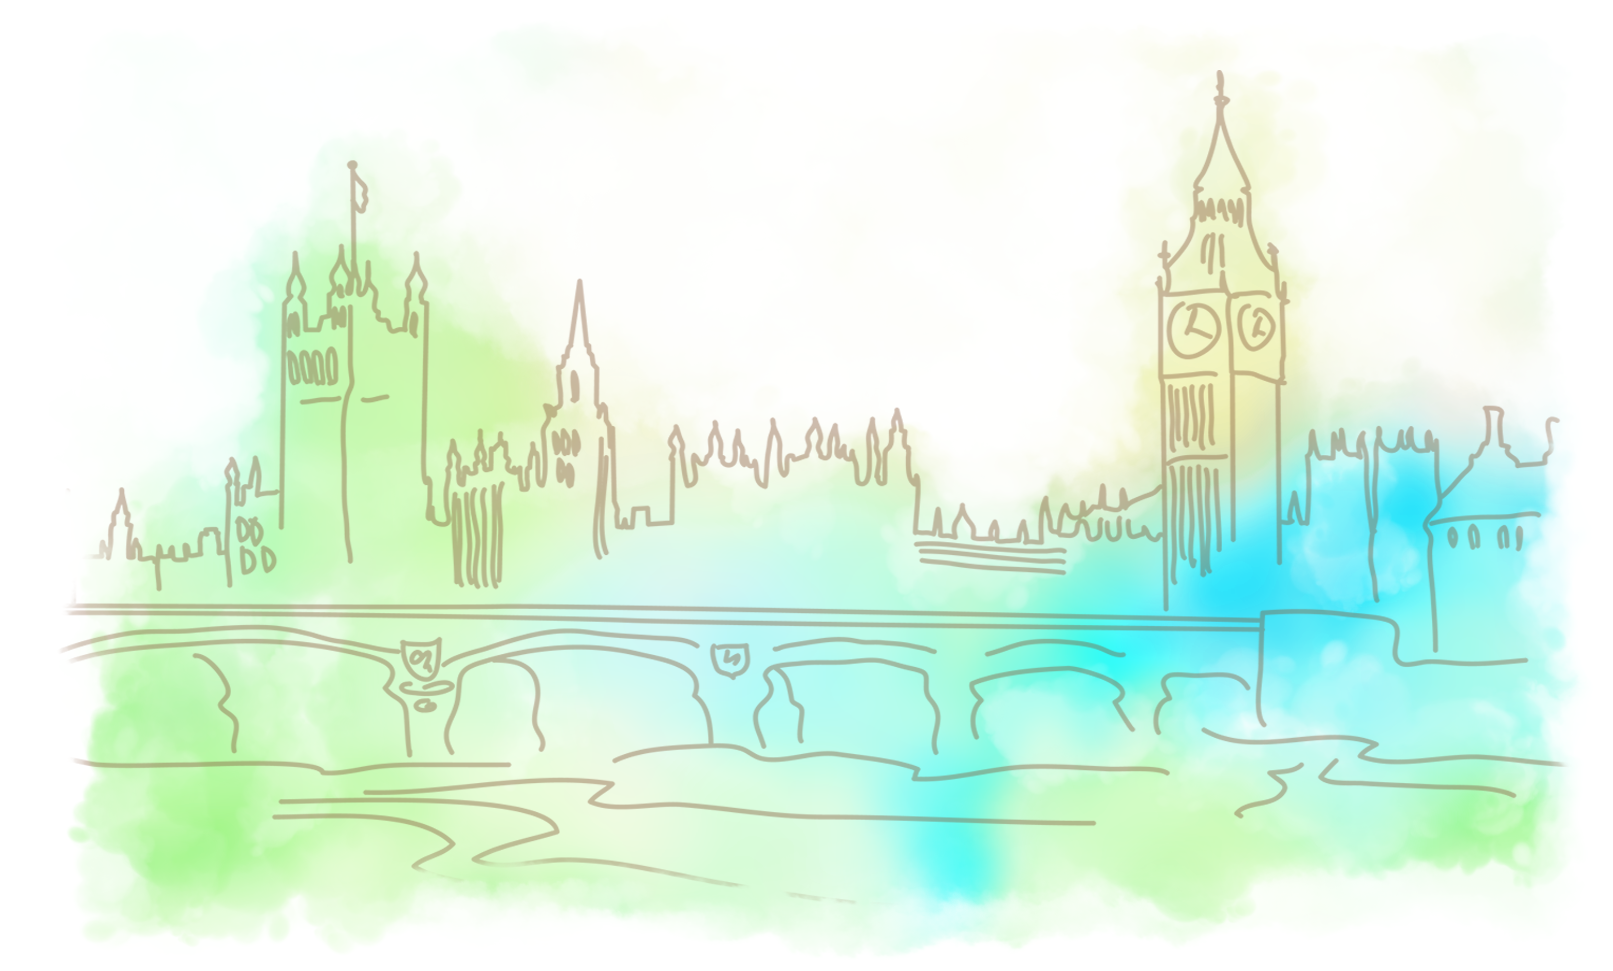
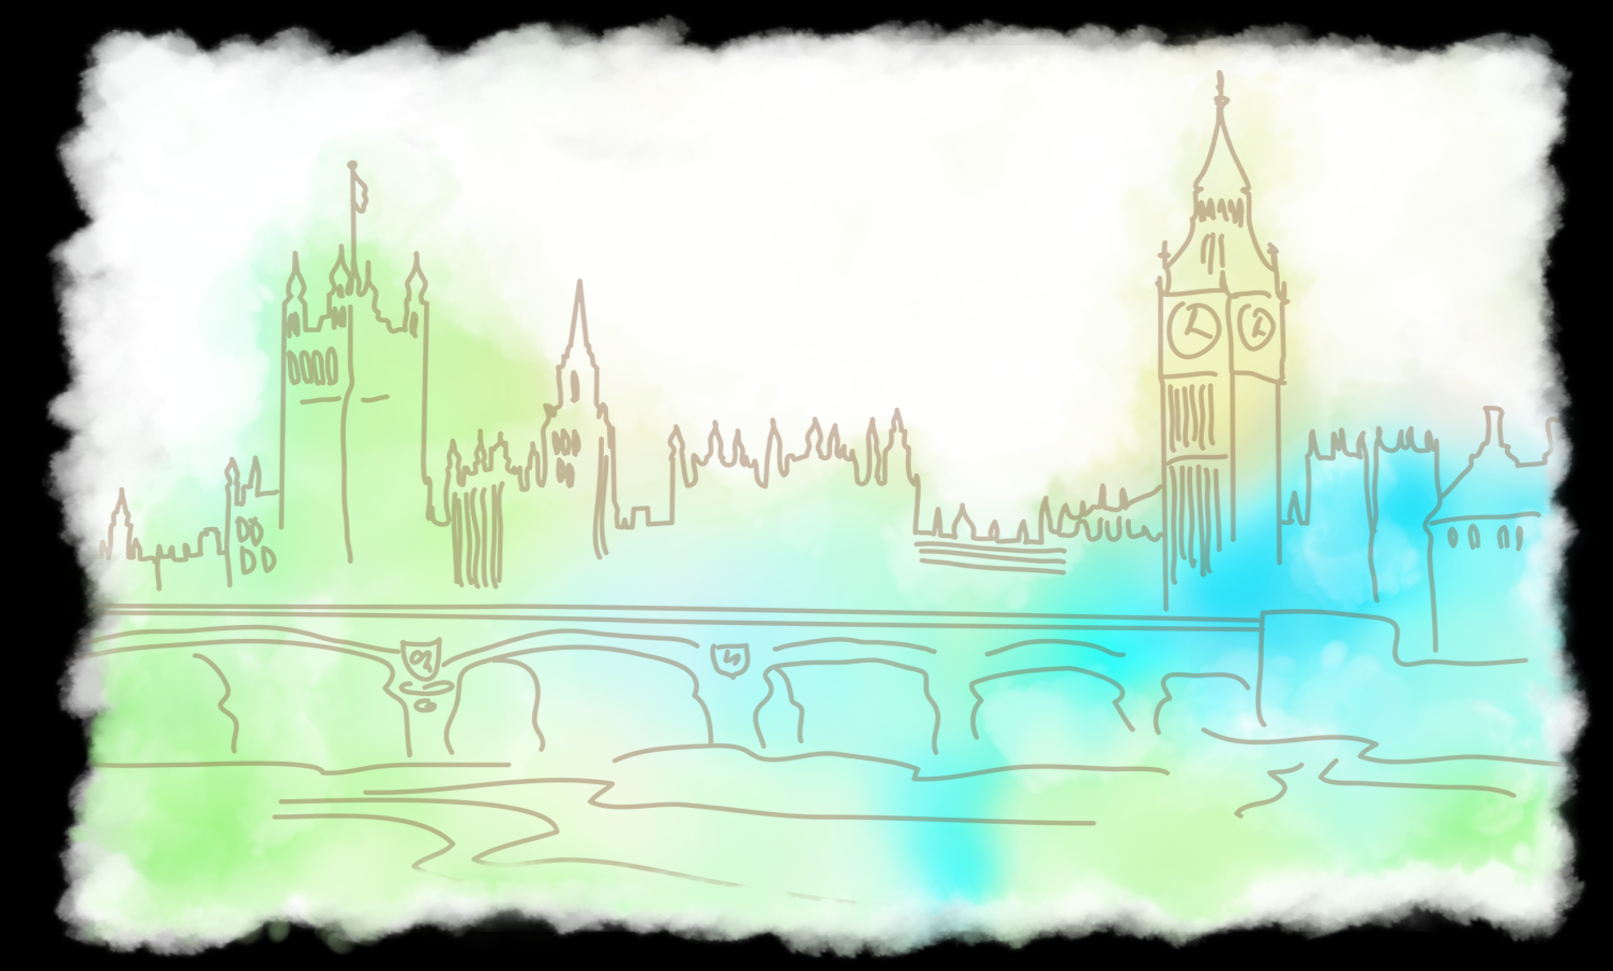

最後再加上字的動態,為了讓字在複雜的背景前面看得比較清楚,在字的背後加上了白色的光暈。字的動畫加上去,整段小動畫就完成了。

Welcome to like, and follow me. If you like the content I share with you, don’t hesitate to leave your comment. See you next time~
歡迎關注、點讚、轉發,喜歡我分享的內容的話,別忘了留言告訴我喔!我們下次見!